Storage Boxes come in many shapes, sizes and materials, i.e. wood, plastic or cardboard. There are plenty of ways to cover them too. You may have some boxes that are unsightly or perhaps you just want them to blend in with the rest of your furniture. In this tutorial we will hand-stitch the basic cover for a cardboard box with scrap fabric and a zip. Once you've completed the basic fabric cover, you will feel more confident on your main project.
Supplies
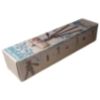
Cardboard Box
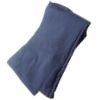
Scrap Fabric
Ruler and Pen
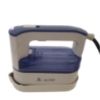
Iron
Rotary Cutter / Scissors
Clips or Pins
Needle and Thread
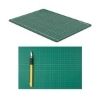
Self-healing Cutting mat
Ready?
Please note: Step 1 and Step 2 are demonstrated with fabric that has a pattern on the front of the fabric and the plain colour on the back of the fabric. This is to show which side of the fabric to trace the shapes on to. The rest of the steps are demonstrated using the actual fabric for the project.
Step 1
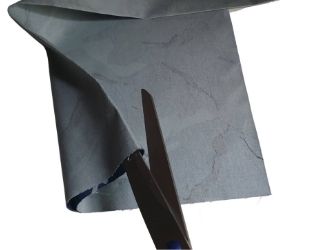
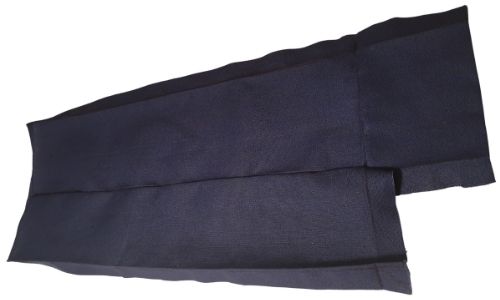
Fold your fabric in half. Place a press cloth over your fabric and iron over the fold in the fabric
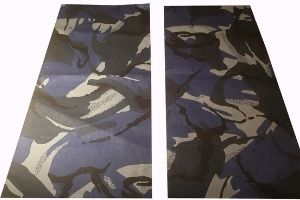
Use your scissors or rotary cutter to cut through this fold. You should now have two equal pieces of fabric.
Step 2
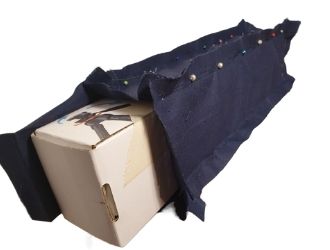
Hold the box over the fabric and ensure there the margin around the box is generous and equal.
Trace the shape of the box onto the fabric with your pen. keep your pen straight against the box.
Step 3
To draw margins, use a ruler or place your finger tip at the edge of the box shape and measure to the first crease of your finger.
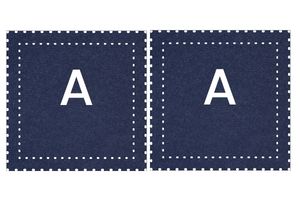
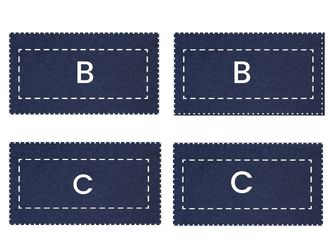
When you have six panels with margins, label them (a - c) . Fold each margin inwards and iron them flat.
Step 4
It's a good idea to thread a few needles and knot the ends. of the thread, there'll be less pausing when you're 'in the moment'.
Avoid using really long strands of thread or else you'll end up with tangles and knots.
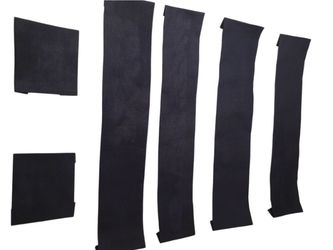
Step 5
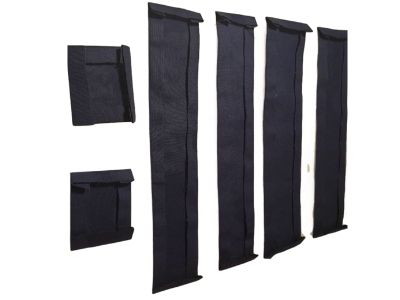
Each panel has four margins. Once you have ironed the margins inwards, they look like little trays.
If you have a rectangle box like mine, it has 3 differently shaped sides, so make sure you place the panels in the right order.
Step 6
Use your box as a template to remind you which way around your pattern pieces fit together.
I have to make sure that the small pieces are attached the right way around as they are rectangles - not squares.
Step 7
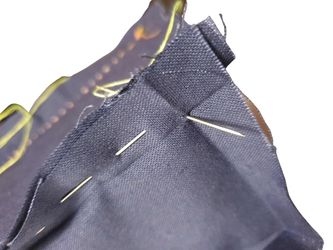
Place the panels together so that their margins line-up. Pin the margins together..
Remember to remove the pins as you sew, that way you won't get pin-poked.
Step 8
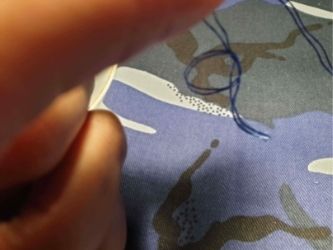
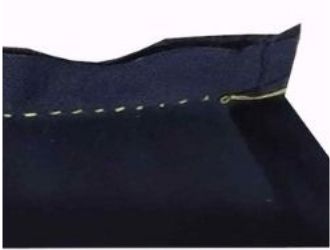
Aim to sew along the valley of the folds you made with the iron. Try to sew straight.
Start from one inner corner and sew each panel to it's neighbour. BUT leave one side long side open because you'll insert a zip between these two panels.
Step 9
I've used a contrasting thread so that you can see the stitches more clearly.
Always use a thread colour that's closest to your fabric.
Step 10
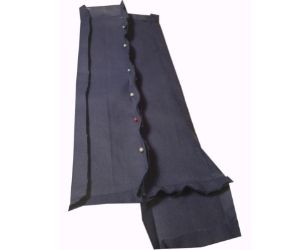
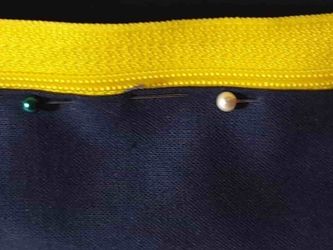
Pin each of the zip arms to the margin on either side of the long edge.
Keeping it Real: I should have inserted the zip around the full 3 edges of the opening: to give a more even appearance.
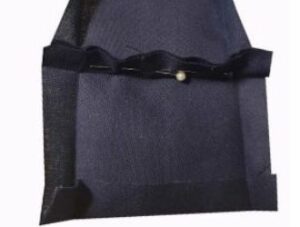
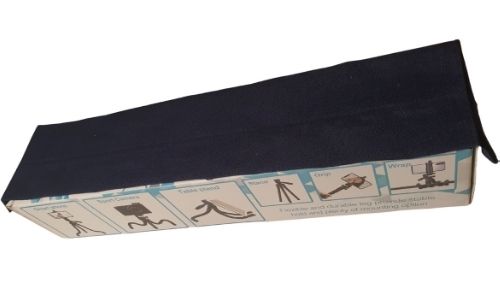
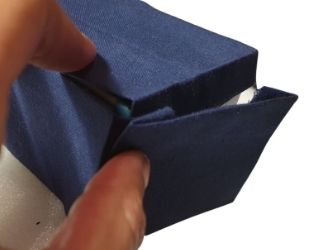
Step 11
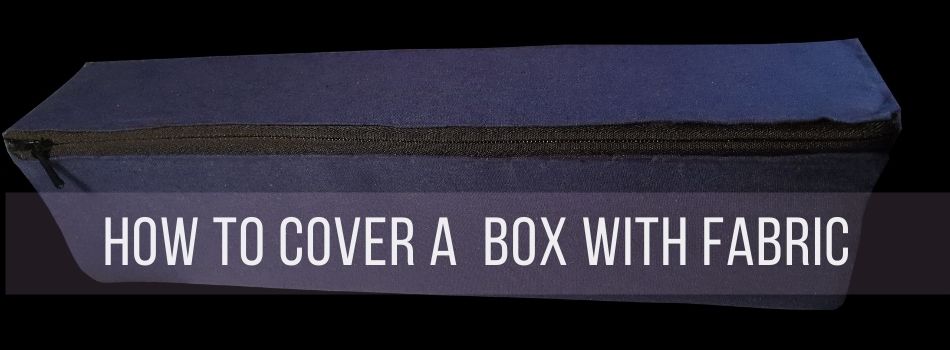
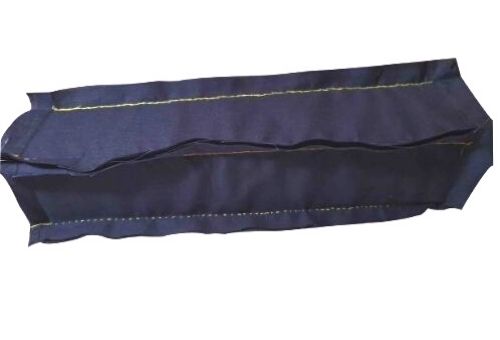
The yellow zip broke randomly, so I used this black one instead. Once you've sewn the zip, turn the cover the right way, put the box in and pull the zipper closed.
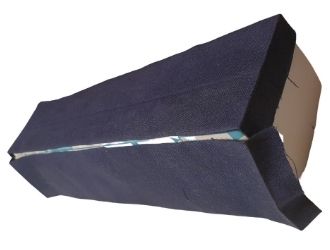
Here is the finished trial run. I enjoyed this little project and learned lots of lessons along the way.
Lessons Learned:
The zip needs to be installed first, before the other panels are attached together
The zip may have been more visually appealing if it had extended around the short sides of the box as well
Padding the panels with Dacron will add a smoother and more professional appearance .
A Velcro closure may provide a cleaner and less bumpy look than a zip because they are more flexible
To provide the best experiences, we use technologies like cookies to store and/or access device information. Consenting to these technologies will allow us to process data such as browsing behavior or unique IDs on this site. Not consenting or withdrawing consent, may adversely affect certain features and functions.
Functional
Always active
The technical storage or access is strictly necessary for the legitimate purpose of enabling the use of a specific service explicitly requested by the subscriber or user, or for the sole purpose of carrying out the transmission of a communication over an electronic communications network.
Preferences
The technical storage or access is necessary for the legitimate purpose of storing preferences that are not requested by the subscriber or user.
Statistics
The technical storage or access that is used exclusively for statistical purposes.The technical storage or access that is used exclusively for anonymous statistical purposes. Without a subpoena, voluntary compliance on the part of your Internet Service Provider, or additional records from a third party, information stored or retrieved for this purpose alone cannot usually be used to identify you.
Marketing
The technical storage or access is required to create user profiles to send advertising, or to track the user on a website or across several websites for similar marketing purposes.