Furnished By Hand

How to Make a Simple Cushion Cover By Hand

We're going to make simple cushion covers with a zip closure that runs along the centre-back.
Firstly, we're creating without a sewing machine. This means that once we're  done with the cutting and pinning, we can settle down somewhere cosy, have a leisurely chat, face-time or binge-watch a box set while we sew.

The supplies and tools you will need:

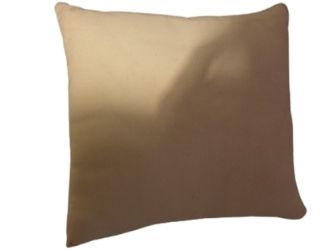
Cushion Pad

fabric

Fabric

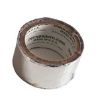
sticky tape

Sticky Tape

iron

Iron

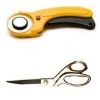
rotary and scissors

Rotary or Scissors

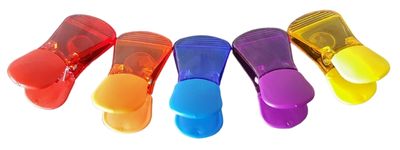
red, blue, red, purple plastic craft clips

Craft Clips or Pins

yellow zip

Zip

needle and thread

Needle and Thread

Step 1

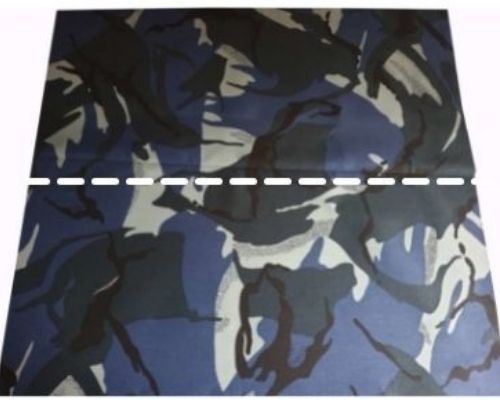
Fabric with centre fold drawn in white chalk
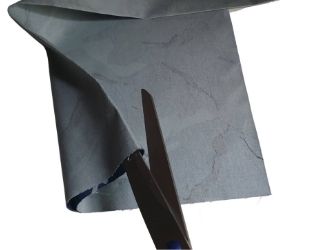
Fold one of the two pieces in half. Iron the fold flat and cut along that fold.
scissor blades cutting fabric on the fold
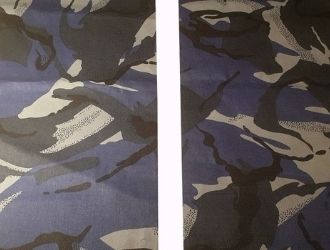
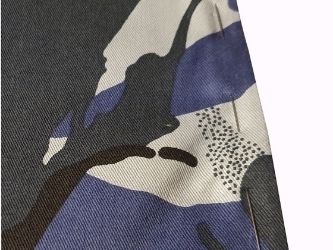
blue army fatigue decor fabric cut in half
You now you have 3 pieces of fabric altogether: one large and two small.

Step 2

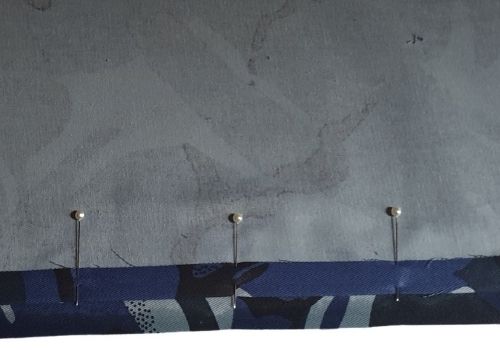
edge of long side pinned back
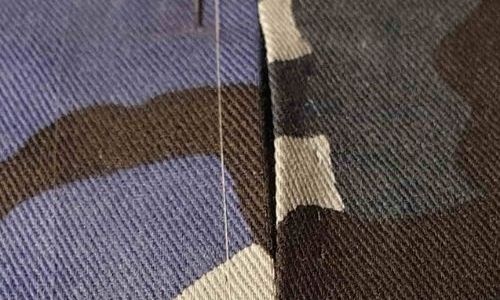
Fold back and pin down the  margins of your two halves
close up of edge of long side ironed back on one half
margins ironed down
Iron down the margin for each half

Step 3

about to attach zip to long margins
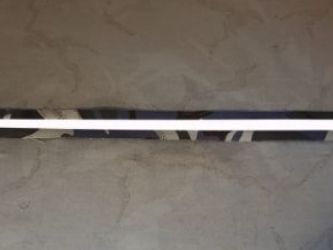
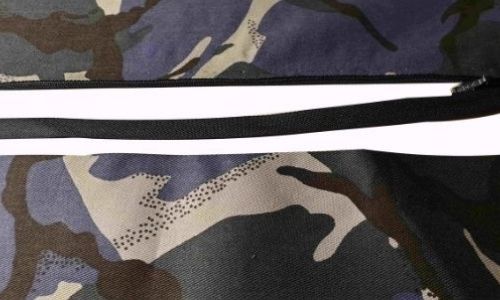
Assemble the two halves with a gap in between them.  The right side of the fabric is facing down on your work surface.
back panel halves side by side with margins folded back
zip between back panel halves side by side with margins folded back
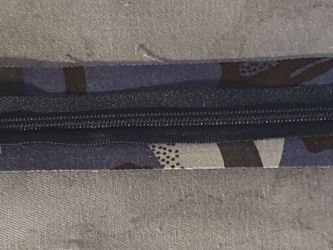
Place the zipper  faced down between the two halves of fabric. 

Step 4

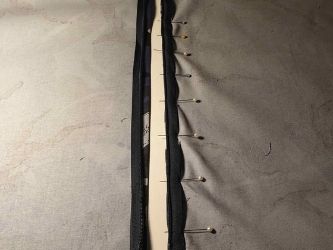
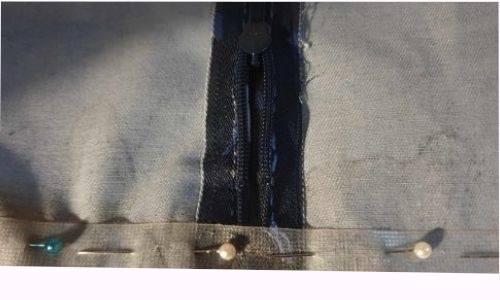
zipper pinned in place front view
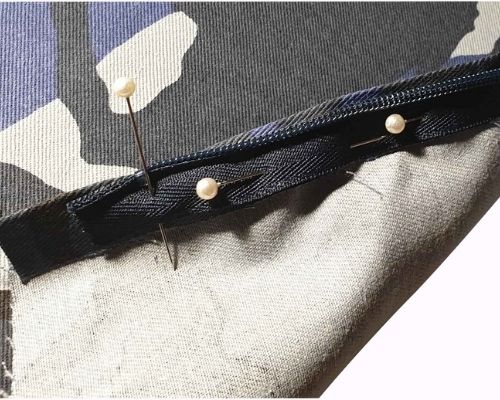
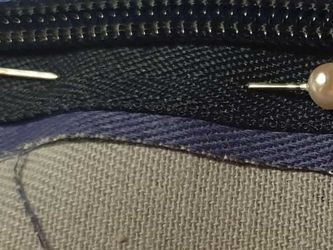
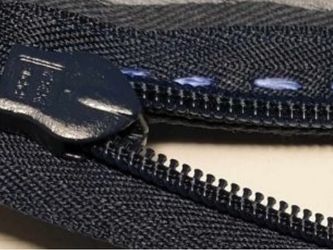
Open the zip all the way so the two arms are separated. Position one zip arm over the fold of one piece of fabric and pin in place.
tops of zip arm pinned to cushion panel inside view
close up of zip arm pinned to cushion back panel
Leave space between the edge of the fabric and the top of the zipper arm. 

Step 5

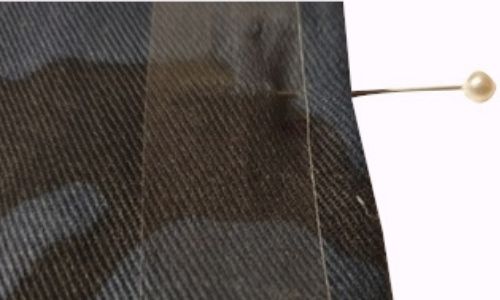
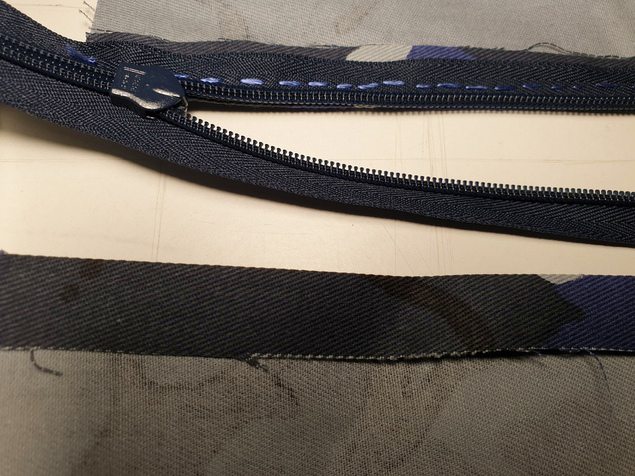
pinned zip and sticky tape guide a
Place a length of sticky tape along the edge of the fabric.
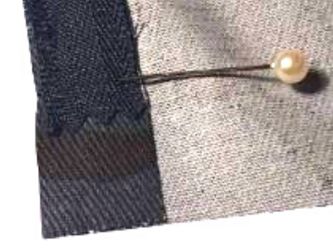
length of zip pinned to margin
close up of top of zip arm pinned to cushion back panel
Look underneath the unit and decide if the tape is far back enough to create stitches without interfering with the zip teeth.

Step 6

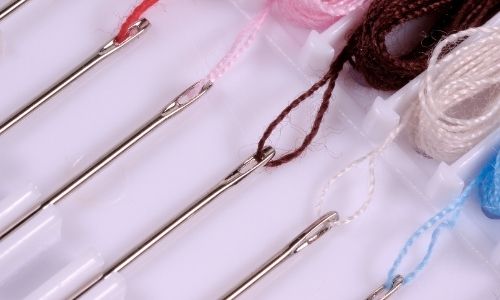
many threaded needles
Thread three or four needles and tie off the ends.
looped thread ends
Keep your needles separate from each other so their threads don't get tangled up.

Step 7

stitching close to sticky tape guide
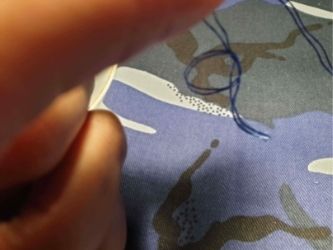
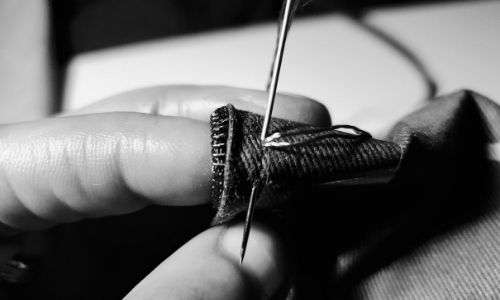
Sew your zip and fabric unit together using a small pin back stitch.
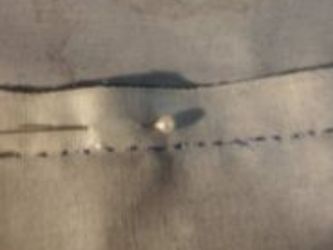
small pin back stitches
back view of one zipper arm sewn in place
As you sew, place the needle very close to the sticky tape edge.

Step 8

about to pin second zipper in place a
Please be really careful with pins, their objective is to poke everything in reach, including you. 
close up of zipper sewn into first panel
zipper sewn into first panel
Once you've sewn past a pinned area, please remove and safely store the pins.

Step 9

cushion back panel edges lined up with selloptape sewing guide for second zip arm
Pull the zip closed and pin the other arm onto the other half of fabric.   The edges line up. but don't overlap. Repeat Steps 5 to 8.
reverse of zipper sewn to cushion panel
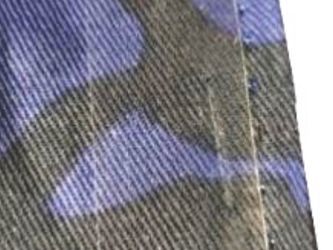
close up of zipper hand stitched into back panels of cushions
Remove your sticky guides. This unit is the back of the cushion cover. 

Step 10

back and front panels of cushions with right sides facing a
Place the front panel  (large piece of fabric) over the back panel (zipper unit) so the right sides are facing each other.  
excess zipper
back of zipper open
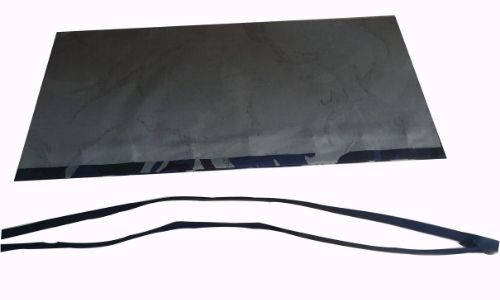
Use the sticky tape and create a frame along the four edges. Pin over the sticky tape guide on all four sides,. Keep your zip open.

Step 11

Cut off excess fabric a
Use the outer edge of the sticky tape as a guide to cut off the excess zip and any excess fabric.
sewing the first side from the corner
pinned and sewn
Sew all four sides of the cushion cover with a small secure (tight) stitch.  Now remove the sticky tape guides.

Step 12

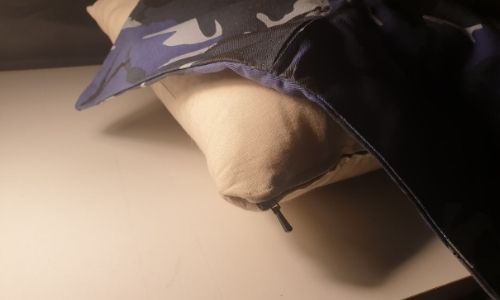
cushion pad and cushion cover
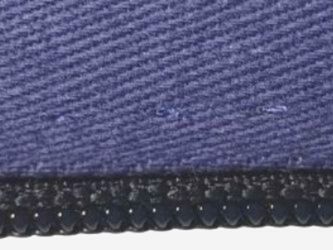
Turn your cushion cover the right way and push the corners the corners out.
handcrafted cushion pad
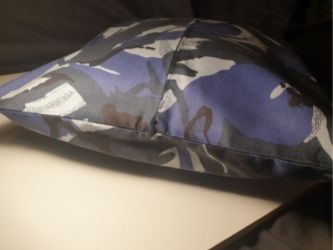
finished cushion filled
This is a DIY fibre-fill cushion pad. Although it's made for a smaller cushion cover,  I'm using it here for demo purposes.
Step 13

Yey !!  All Done
Remember that practise makes perfect, so have a go at hand-stitching other  cushions with scrap fabric. You'll become more confident, and ready to create cushion sets with good quality fabric.
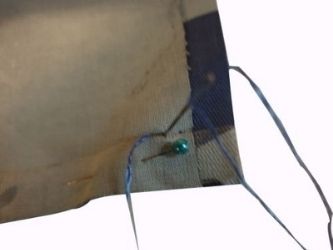
Happy Hand-Stitching !!

Leave a Reply

Your email address will not be published. Required fields are marked *

cross