Furnished By Hand
Mini Tool Station and Stool

Make Your DIY Mini Tool Station With A Seat

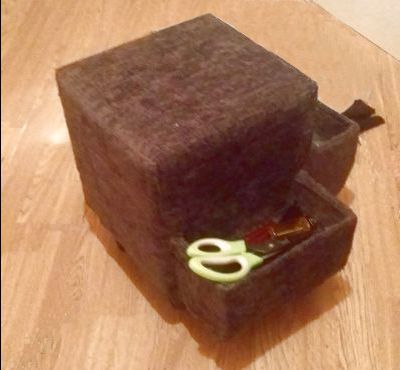
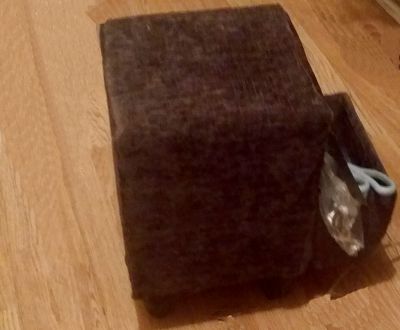
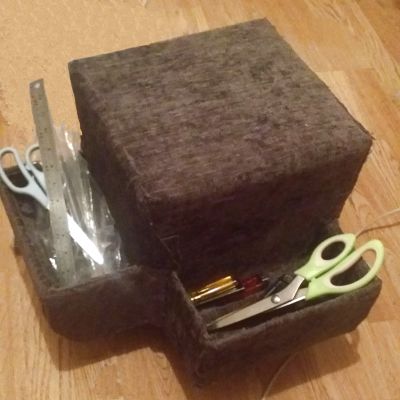
Depending on availability of space to craft in,  I sometimes create emergency tools and equipment to work smarter and faster.  Introducing my mini tool station.  I call it  the 'Stool with Tools'. I use it as a stool to sit on , while  I work on projects that are close to the ground, for example sewing the hem of long curtains. The main thing I use it for is to house my most essential tools inside its 'pockets'.
DIY Mini Tool Station and Stool back view
Mini Tool Station and Stool 400 x 330 d
When I created this, I had no real design process, I just knew that I needed to sit on it and carry tools in it. My mini tool station is very light weight, so I can carry it from room to room as needed. It fits in the boot of the car too so I can take it with me on journeys.
If you would like to create a Mini Tool Station and Seat Combo, I would highly recommend following these VERY simple steps. Seriously...it's a really easy no-sew project, that helps to use up home decor remnants, and will last for ages.

Happy Crafting!!

Supplies

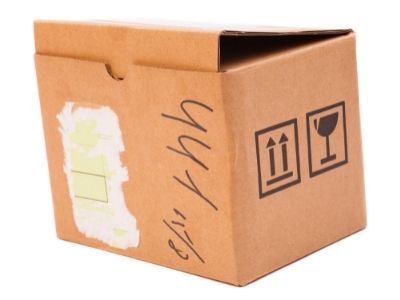
A Sturdy Large Cardboard Box

The box needs to be large enough to sit on, AND it should be sturdy enough to support your body weight.  Your local high-street businesses will usually have a few lying around. if you ask nicely.
cardboard box

2 Sturdy Triangular Carboard Boxes

These boxes must be strong, and large enough to hold equipment like scissors, measuring tools, markers, pens, clips, stapler and other essentials.   Deep rectangle boxes work well for this.
2 Rectangular boxes

Strong Glue and Fan

Strong Glue and Fan - While this is the best way to adhere the boxes together, a powerful fan is essential. It should be kept on during the entire process to disperss toxic fumes, and dry the glue as quickly as possible.  It's a MUST.

Decor Fabric Scraps

I used lots of chenille scraps left over from 'The Window Box Seat' project. This type of mid to heavy Decor fabric works well for this project.

Papier Mache

Newspaper
if you can find some, or use tissue paper, craft paper or something similar.
Bowl, PVA Glue and Water
You will need a spatula to mix the glue and water together in the bowl.
OR
Plaster of Paris
if you don't have PVA Glue and newspaper, you can use  plaster of paris bandages soaked in water.  However, be aware that PP sets much harder than Papier Mache, and takes longer to dry.
newspaper, bowl of water and glue

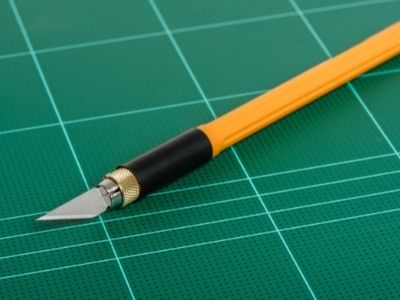
Craft Knife and Selft Healing Mat

if you have a pair of good quality scissors or a rotary cutter, you can use them too.
craft knife and self healing mat

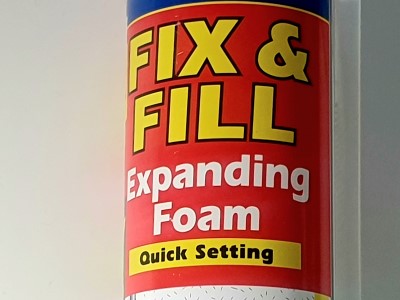
Expanding Foam

This will add stability to the large cardboard box and stop it from caving in when it is sat on.  You can opt to use polystyrene packing blocks tightly packed together, although that method may provide less stability.
Expanding Foam

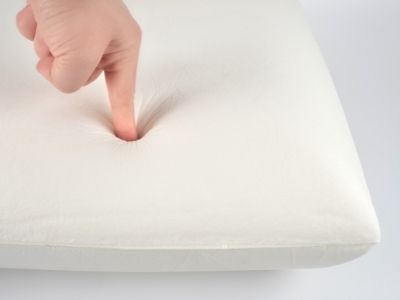
Polyfoam or Memory Foam

Memory Foam or Polyurethane Foam, will give comfort for the spine by adding a stable seating platform for the top of the large cardboard box. 
memory foam
Are You Ready?

Step 1

Fill the large cardboard box with expanding foam, leave two 2 inchs of space at the top of the box. This foam should be allowed to dry completely.

Step 2

Fill the remaining top two inchs of the large box with a Polystyrene foam block. For the purposes of comfort, you can opt to use a different layer here, for example a thick slab of quality memory foam or packing foam etc.

Step 3

Close the box flaps and stick them down flat.
Ensure the box is completely dry before you work on it.

Step 4

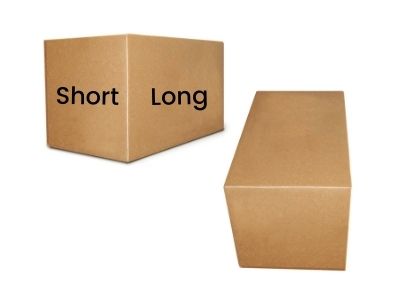
Cut off one of the long sides of each of the triangular boxes. The boxes now have 3 long sides and 2 short sides.

Step 5

The open side of the rectangular bar should be facing upwards. Apply strong glue along one long side of the rectangular box and stick it along the side of the large box. The base of the large box and the base of the small box should be level on the floor. Repeat this step with the other rectangular box.

Step 6

This part is pretty messy so put some cloths down first.
Mix together 2 parts of PVA glue with one part of water in the bowl.  Cut the newspaper into strips with your scissors. Dip the strips into the mixture and saturate them, then lay them flat over the boxes. Cover the large  and small boxes completely to create an even layer all over.

Step 7

Ensure that you apply the strips inside the small boxes also. Pay special attention to the joins between the large and small boxes,  Apply the strips perpendicular to the joins until the joins disappear.

Step 8

Use a paint brush to apply extra mixture over the boxes, then apply another layer of wet newspaper. Don't paper over the base of the boxes, as this will cause balance issues.

As discussed earlier, you can use plaster of Paris to achieve the same effect. This will be just as messy.

Step 9

2 layers of paper is enough to create a solid unit, but you can add as many layers as you need. Place the whole messy lot in front of a very high powered fan and blast your project with cool air. Change the position of the fan periodically  to ensure the boxes are completely dried out.

Step 10

Apply strong craft glue all over the dried boxes and apply strips of decor fabric over the glue. Add extra glue to the surface of the decor fabric if you need to. Aim to cover every inch of the boxes, leave no gaps.

Step 11

Place the wet box in front of a high powered fan and blast it for up to 30 minutes on each side. This will dry the glue and solidify the entire unit.

Once its dry, populate the pockets with your essential tools and try out the stool. You can add a cushion ontop of the stool for added comfort.

3 comments on “How To Make A Handmade Mini Tool Stool”

  1. Hi. Your 'Stool with Tools' is such a brilliant and practical creation. I love how you've combined functionality with aesthetics, turning a simple cardboard box into a versatile tool station. The step-by-step guide is so detailed and easy to follow, making it accessible for even the most novice DIY enthusiasts. A lot of thought and creativity went into this project. I can already imagine this stool's myriad uses in my crafting endeavors. Thanks for sharing this innovative idea, and I'm looking forward to trying it out! Keep those creative juices flowing! 🌟🔧

  2. I decided to try creating my own DIY Mini Tool Station with a seat, and it turned out to be a game-changer for my crafting projects. Not only is it incredibly practical, but it's also a fun and budget-friendly project. I found a sturdy cardboard box, attached the triangular tool pockets, and covered it with some leftover decor fabric. The result was a stylish and functional tool station that I can easily move around my workspace. Now, I have all my essential tools at my fingertips while working on various projects, from sewing to crafting. It's a must-try for anyone looking to stay organized and creative!

Leave a Reply

Your email address will not be published. Required fields are marked *

cross